6 Fashion/Lifestyle Adobe Lightroom Presets – OpalbyOpal Collection

Free

We all know how important it is to get that perfect edit for your photos. I’ve been editing my photos in Lightroom for as long as I can remember and today I wanted to share with you my 6 absolute favorite looks that I’ve been using in 2020.

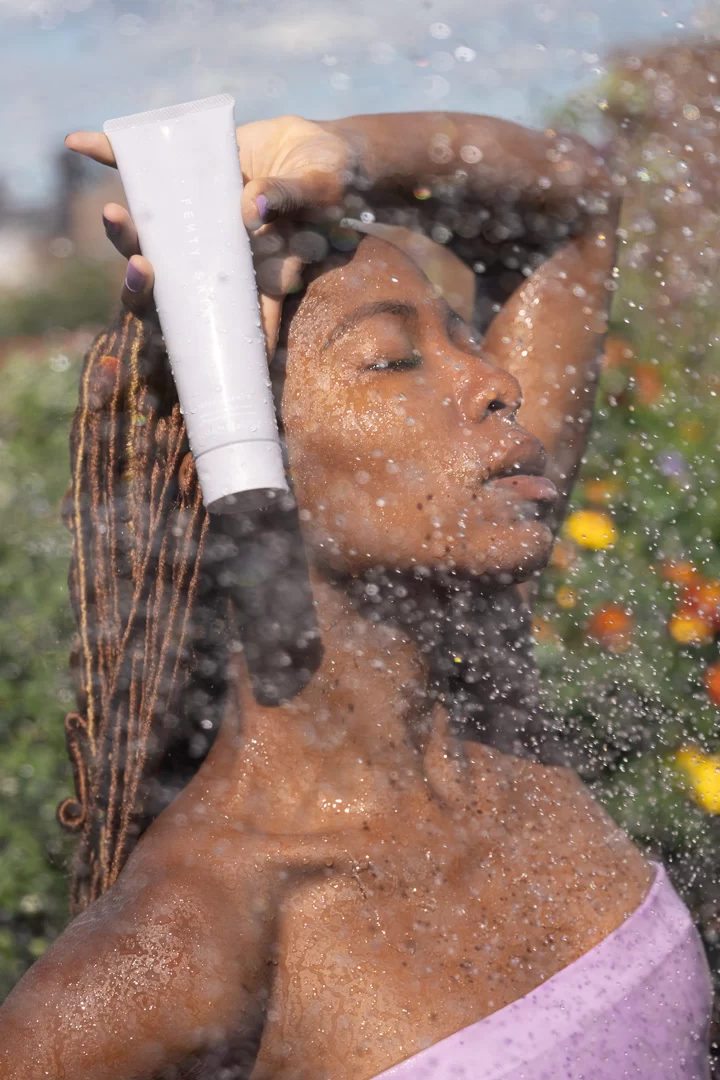
Each preset in this collection is meant to transform your photos with just a single click. They add some of my favorite colors, enhance photos and are meant to make your editing process that much easier. If you are into fashion or lifestyle photography as much as I am, then this collection is for you! These 6 all-around filters are meant to bring out the natural beauty of your photos and inspire you to create a look and style that’s uniquely yours. Keep reading for my editing tips on how to get the most out of these presets.

These Presets are in Adobe’s Latest XMP format and should work with Lightroom 7.3 (released April 2018) and up. These work for RAW as well as JPEG images.


Presets Include:

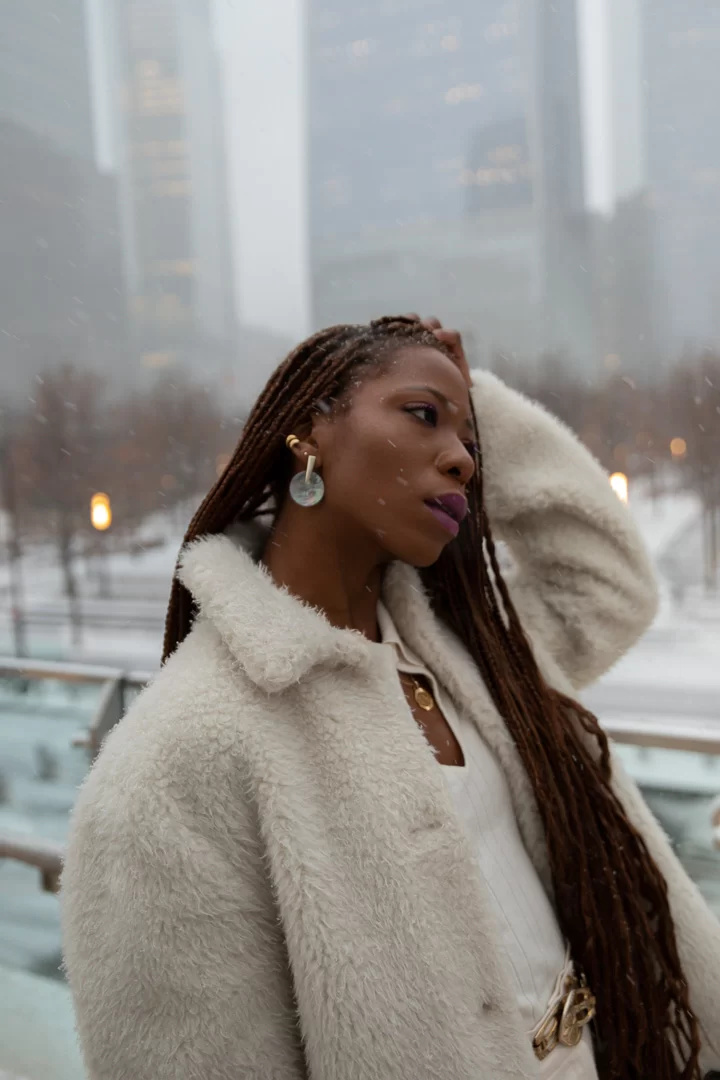
Snow Day | Light, Bright and Airy with Teal & Orange undertones.

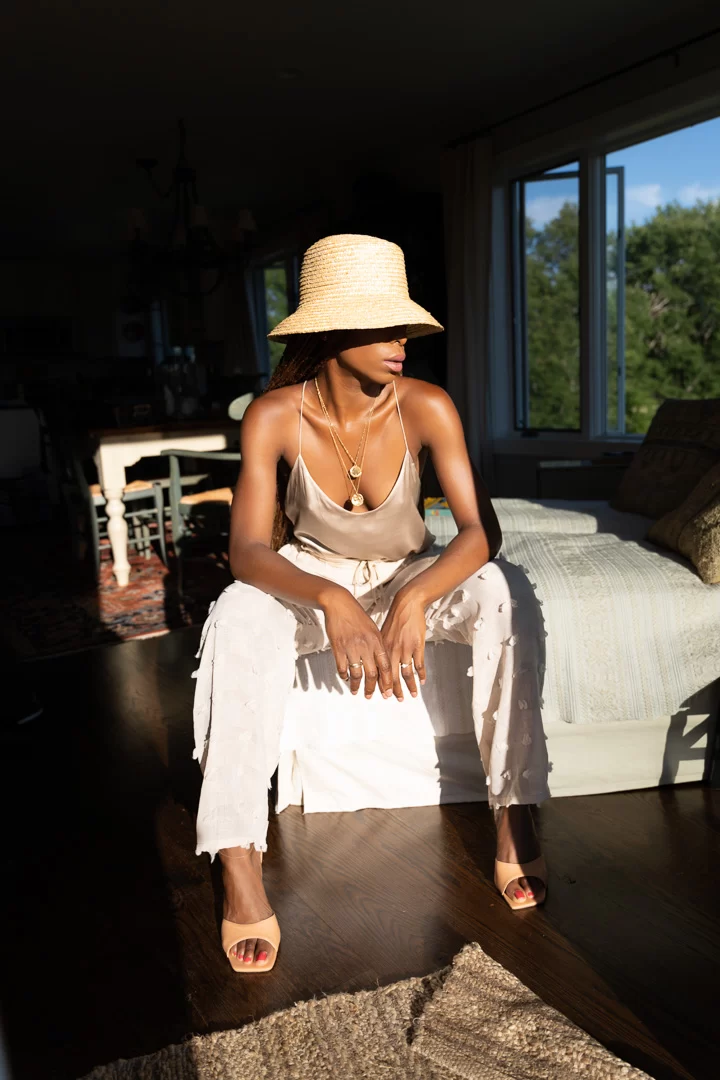
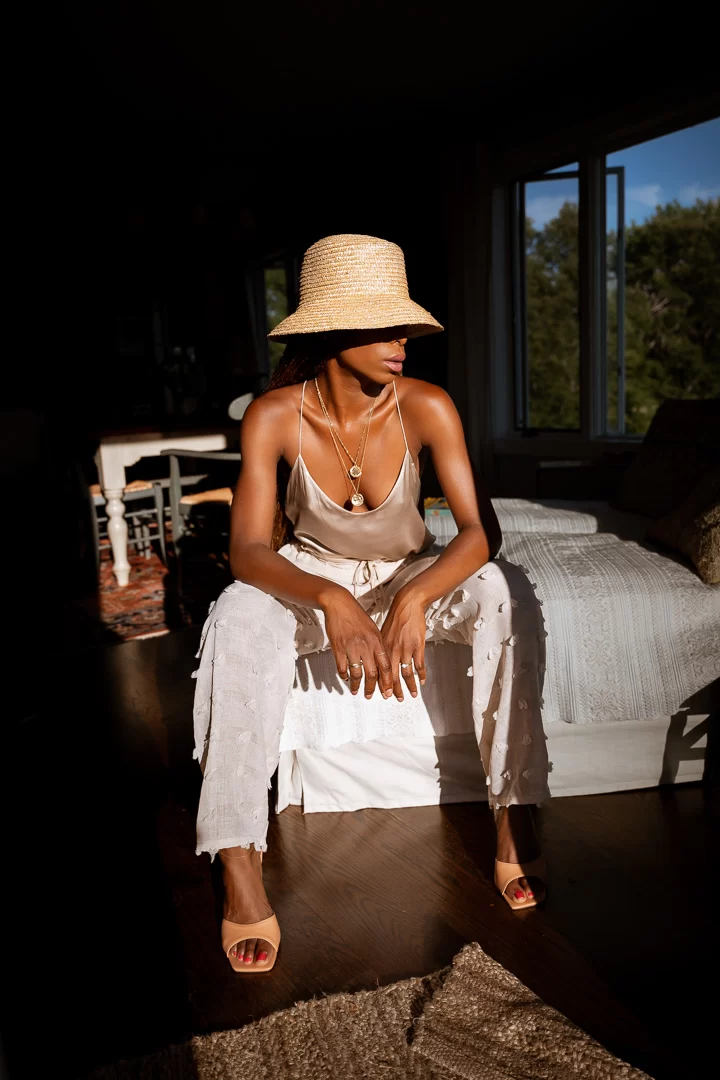
Smooth + Shadowy | Perfect for sunny days and enhancing shadows.

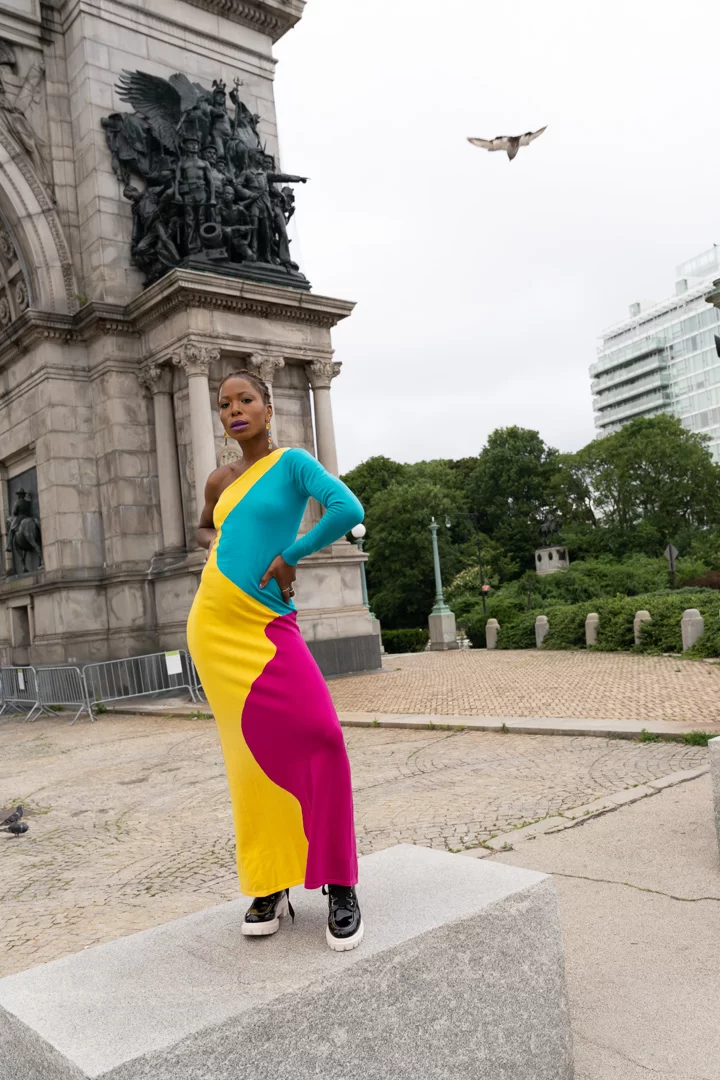
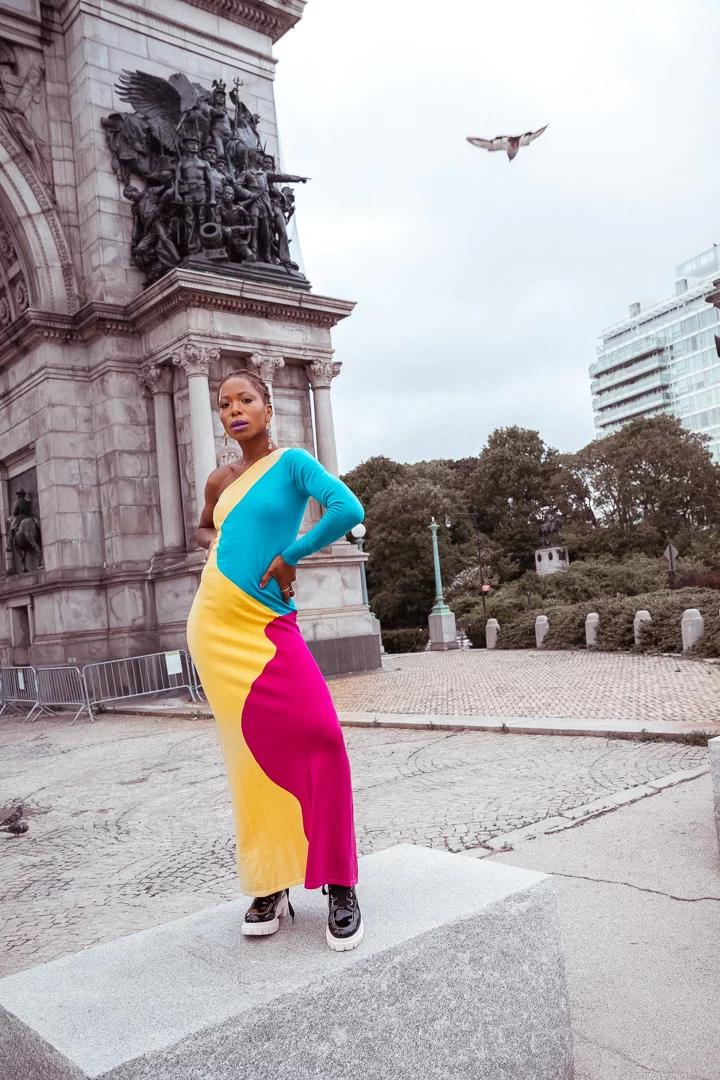
Rose Gold City | Rose Gold has never looked this good.

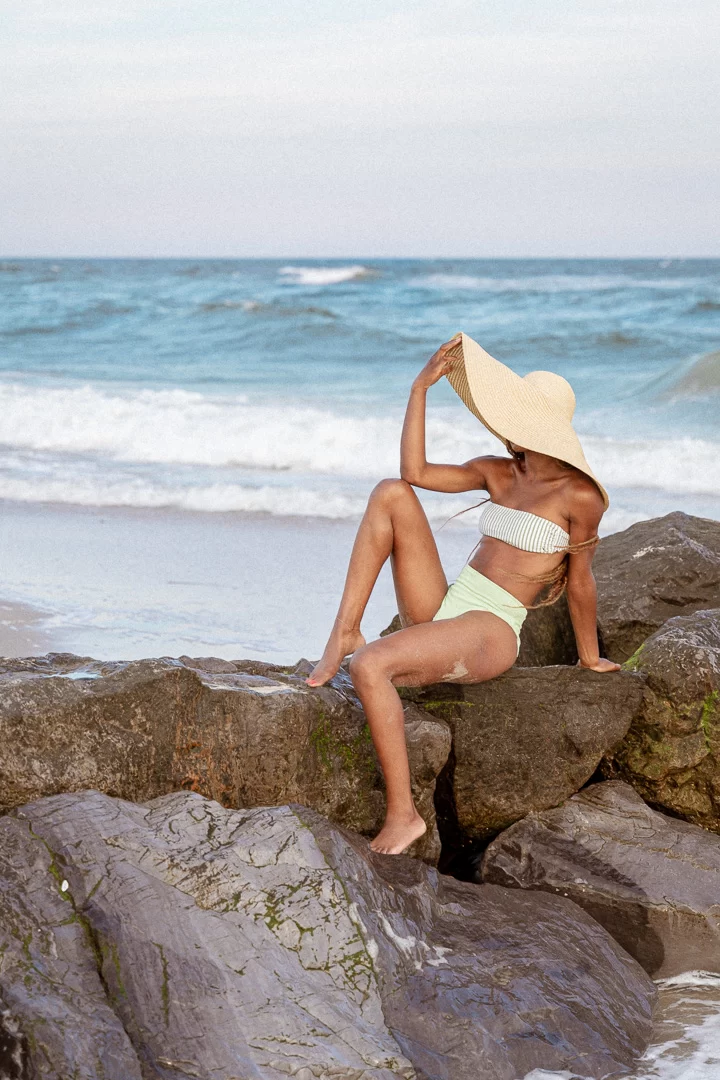
Retro Beach Day | Inspired by Pirelli calendars from the 1970s.

Crisp + Bright | An all-around look that makes the image pop.

Country Chic | Enhanced greens and yellows for slower living.


How to Download:

I am making all of these presets absolutely FREE for you to download and start using. Just subscribe to my newsletter below and you will get an automatic link to download the whole pack. Learn how to install your new presets here.

Editing Tips:

– Each preset will look differently based on the colors, light and white balance of each photo. First thing I like to do when applying a preset is to adjust Exposure slider to get a proper exposure of the photo (most of your histogram should fall somewhere in the middle or to the right).

– Next step I like to do is to adjust White Balance of the photo. “As Shot” or “Auto” usually accomplish what I need to do in Lightroom but sometimes I go for “Cloudy”, “Daylight” or “Shade” presets. When all else fails, adjust the slider manually to get the look that you desire.

– Basic editing should come next – adjust your “Highlights”, “Shadows”, “Whites” and “Blacks” before doing anything else. I typically like to open up my shadows to get the most details in the darkest part of the photo and tone down highlights to recover the details from overblown skies. But don’t be afraid to experiment here.

– “HSL” and “Split Toning” are powerful tools to get the colors that you want in your photos. Play around with increasing saturation and luminance on colors that you want to “pop” in your photos and decreasing them for colors that you want to mute. Split Toning can add an easy filter to all of the “highlights” and “shadows” in your photo. Some of the most popular color combinations include “blue/orange”, “blue/green”, and “green/red” but experiment with adding colors that are most prominent in your photo as well like yellows and purples.

– “Snow Day“, “Smooth + Shadowy” and “Rose Gold City” presets include radial filters that will be automatically applied when selected. “Snow Day” and “Smooth + Shadowy” add an extra pop of light to the middle of your photos, while “Rose Gold City” adds saturation to compensate for the lack of yellows in a photos. Feel free to resize, move, adjust or delete these filters from your photo as necessary.

Comments are closed.