In this blog post, I wanted to share my favorite tips and tricks for how I shoot Street Style content on the streets of New York City. If you ever wanted to have your own photoshoot in the most magical city in the world, keep reading to learn what locations I like to pick, how I change my outfits on the street and what I do when someone approaches me during the photoshoot. I promise these street style photoshoot tips will be helpful to both beginners and experienced models. Keep Reading to Learn More!

Here are a few tips to recreate your own 

“NYC Street Style Photoshoot” :

1) Find an area where you can stretch your legs. I like to look for closed-off streets, side streets, and any areas with minimal traffic where I can be comfortable posing and shooting for 15 or so minutes without anyone disturbing me. As an added bonus, less traffic means that it’s less likely that an unwanted passerby will be in the background of your photos stealing all of your photo magic. 

[df_divider_text title="HER OUTFIT" title_align="separator_align_center" el_width="100" style="solid" height="1px" accent_color="#E5E5E5" border_size="1px" padding="10px 0" position="align_center" el_class=""]

2) Shoot first, ask permission second. There are a number of locations around NYC that are private properties masquerading as public areas – sidewalks in front of hotels, small parks, outdoor sitting areas. As a rule of thumb, if you see a cute location you would love to take a photo at, just go for it and start snapping away. If a security guard or property owner comes out and asks you to move, please do so immediately. Usually, by that time, I already have the shot that I was going for saved on my camera roll so no hard feelings. Just be mindful of your surroundings when accessing a semi-private area and don’t be obnoxious to people already there or the aforementioned security guard who is just doing his job. 

An exception to the rule: In a small coffee shop, or any store where it’s plainly obvious that you are there to take photos, I do like to ask for permission first. In my personal experience, most places will be more than happy to let you take a few photos. Ask for their Instagram handle and tag them in your photos as a thank you.

[df_divider_text title="HIS OUTFIT" title_align="separator_align_center" el_width="100" style="solid" height="1px" accent_color="#E5E5E5" border_size="1px" padding="10px 0" position="align_center" el_class=""]

3) In New York, no one is paying that much attention to you. Really. If you’ve lived in a big city long enough, you know that you are bound to see some characters who add to the appeal of the city life – all sorts of street performers, a guy with a pet python wrapped around his shoulders, a hipster riding his unicycle…the list goes on and on. And most people wouldn’t blink twice passing them on the street because we are so used to the unusual happenings amongst us and are too busy running to our appointment. Congratulations, you modeling on a street in the latest high fashion look in 40-degree weather, just joined the ranks of those characters that no one bats an eye at! So loosen up and try out your best poses and angles knowing that no one is really judging you for it.

Note: Rarely, but sometimes people will make a comment while walking by. Overwhelmingly it will be a positive comment like “You go girl!” or “Work it!”. Just be ready for those – flashing a quick smile and a “Thank You” goes a long way.

4) Bring a change of shoes and accessories in the winter & a pop-up tent in the summer. Ok, I will tell you a dirty little secret of fashion photography, I rarely wear the high heels you see in final photos to the actual photoshoot. It just wouldn’t be very practical to wear them on a subway and through the snow and sludge of the winter. So I wear something comfortable like snow boots in the winter and sneakers in the summer and bring a change of shoes with me in a tote or a duffel bag that you can quickly pull out and put on for the photoshoot. The same goes for accessories like clutches, hats, gloves, etc. that you can carry with you and quickly change into. 

In the summer, I like to bring a pop-up tent with me like this one that I can quickly set-up somewhere quiet and use to change into multiple outfits during the same shoot. Looking for public restrooms is also an option if you are in a pinch but that comes with its own drawbacks of finding one to begin with, wait time and cleanliness.

[df_divider_text title="PHOTOSHOOT ACCESSORIES" title_align="separator_align_center" el_width="100" style="solid" height="1px" accent_color="#E5E5E5" border_size="1px" padding="10px 0" position="align_center" el_class=""]

5) To find a wall or to find an open space?

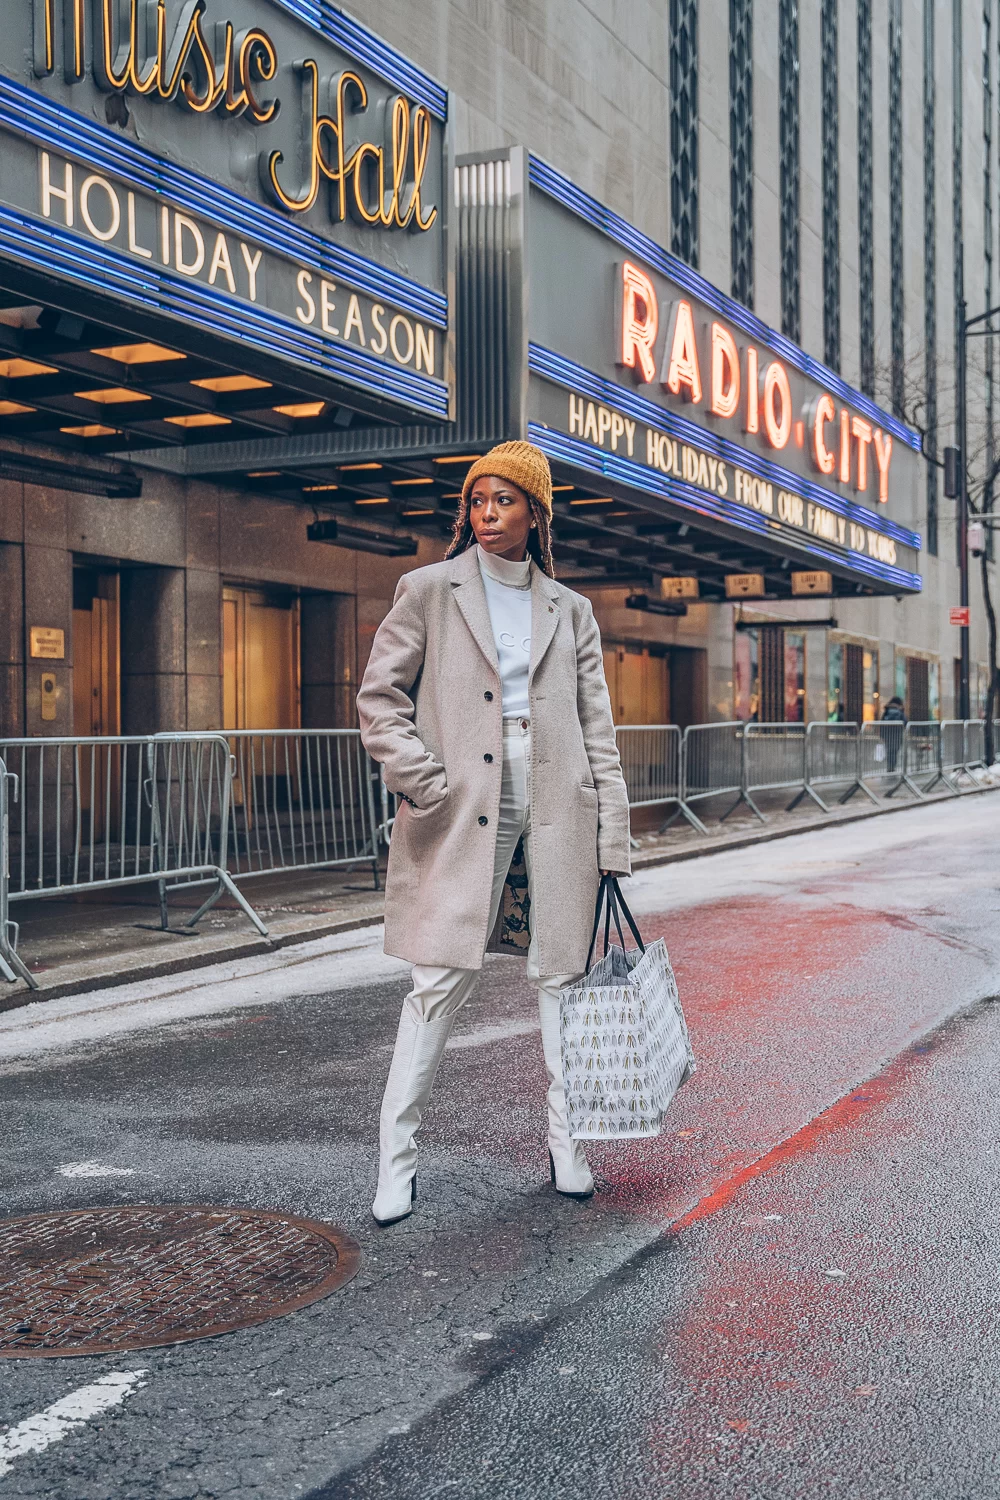
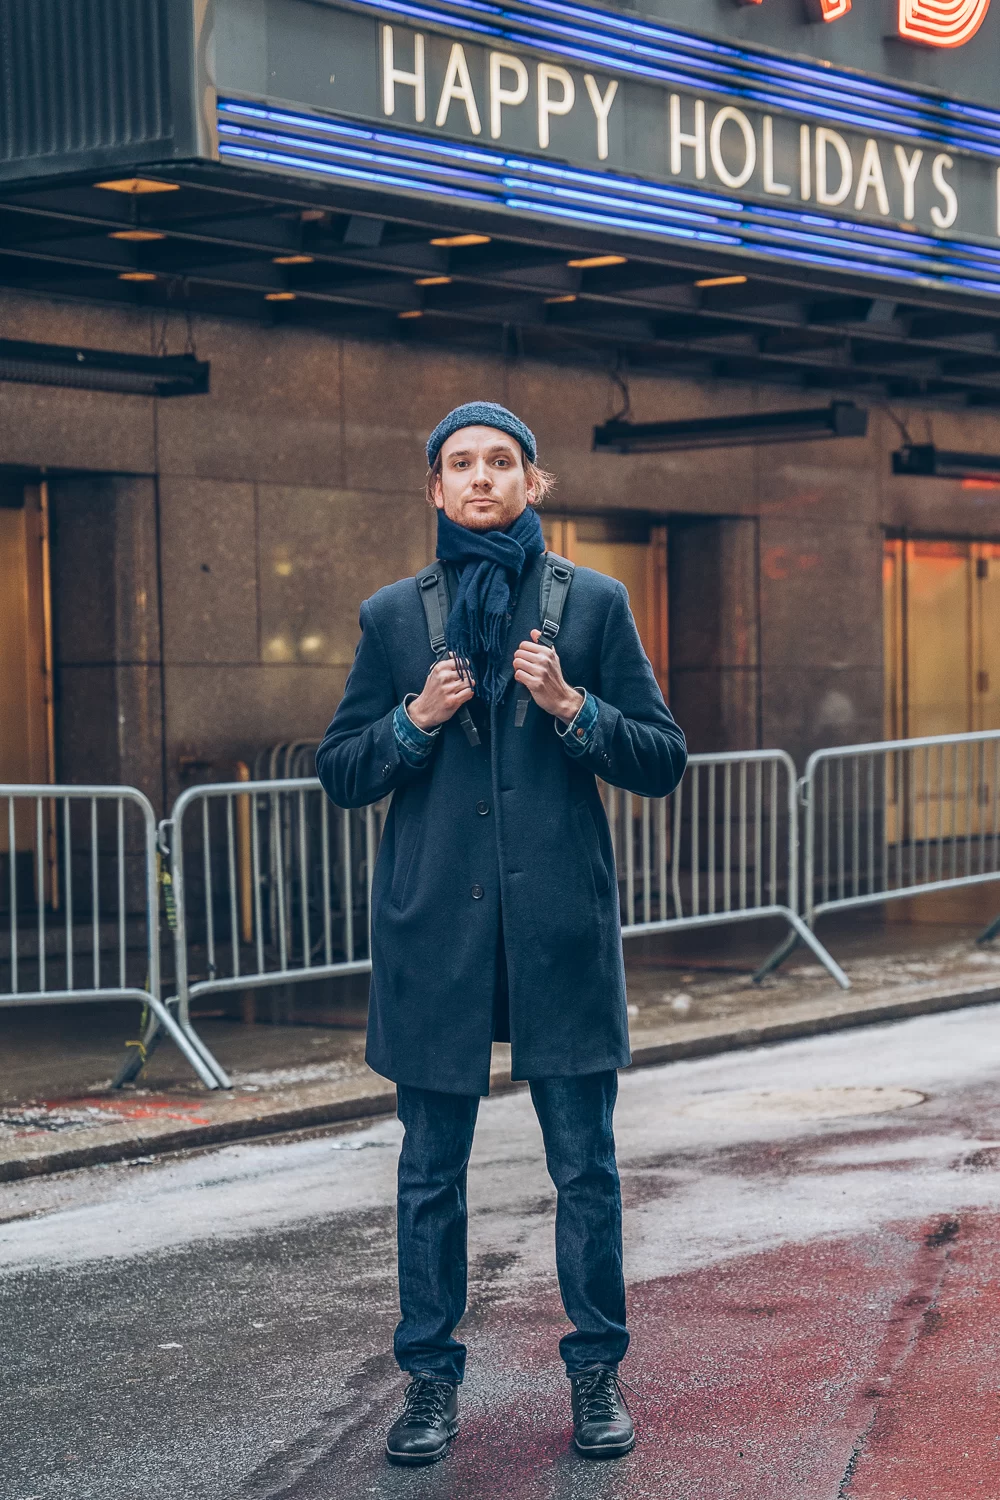
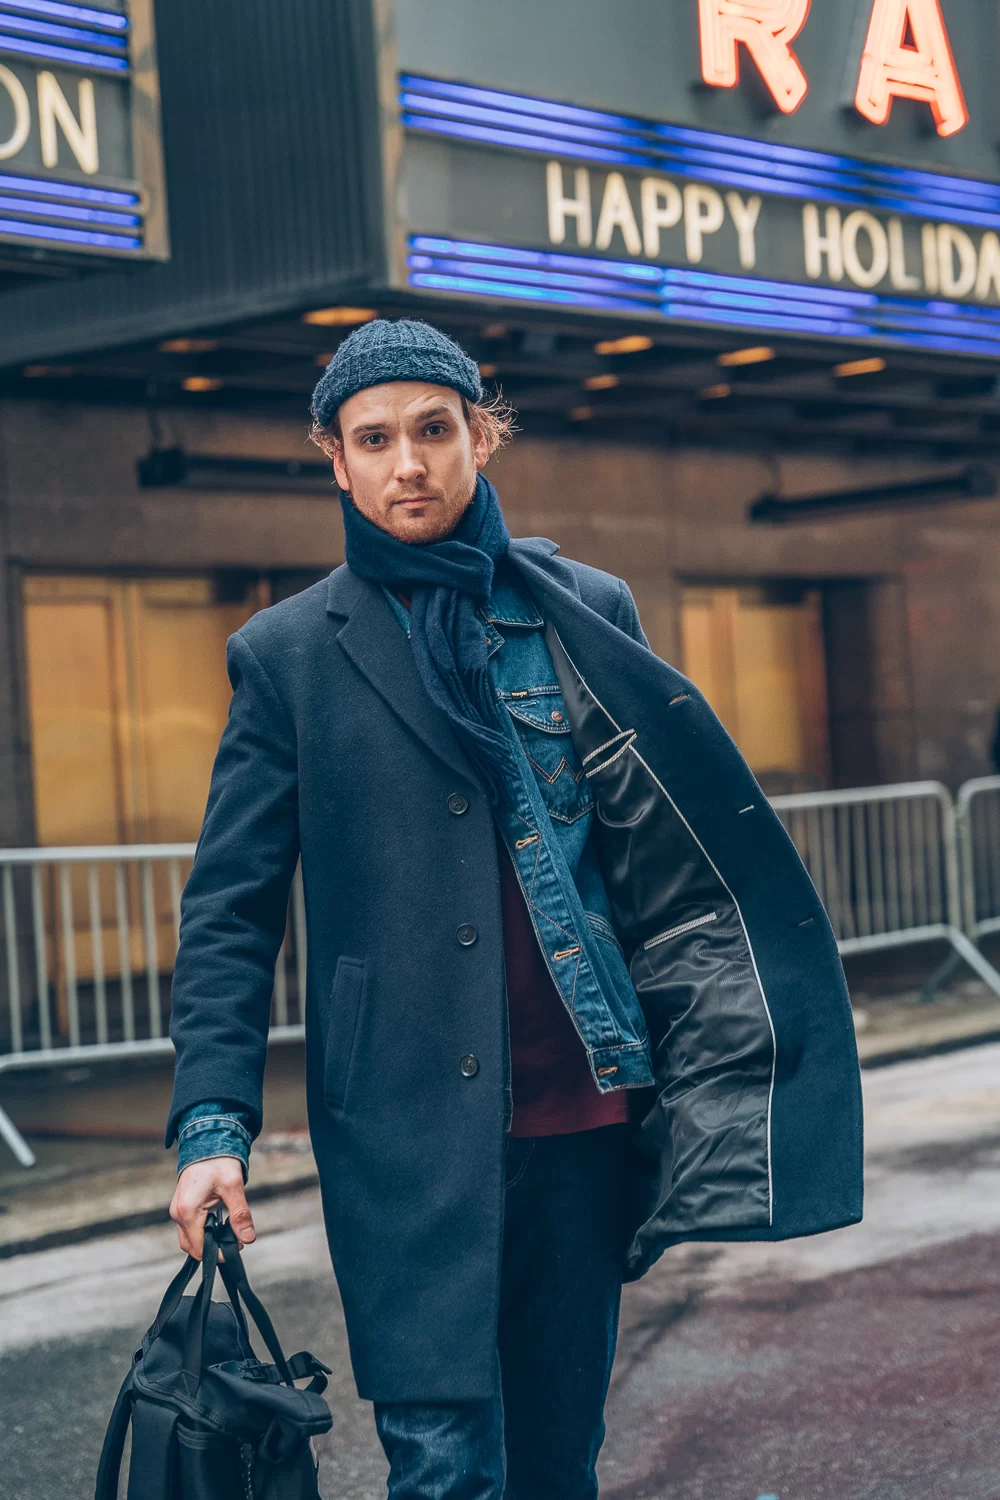
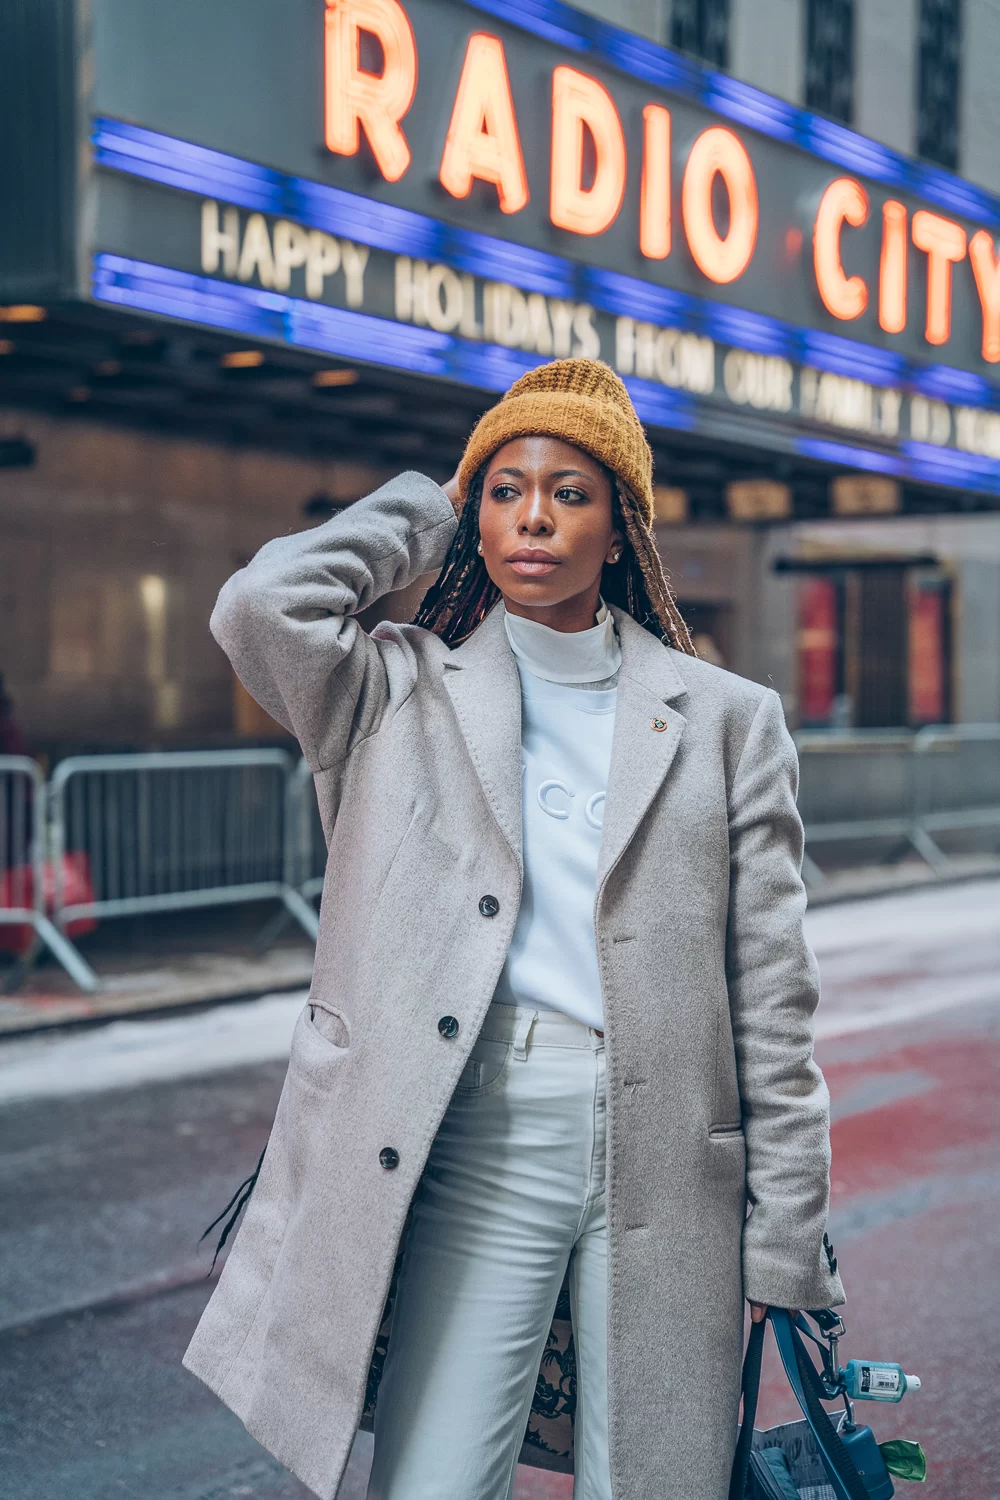
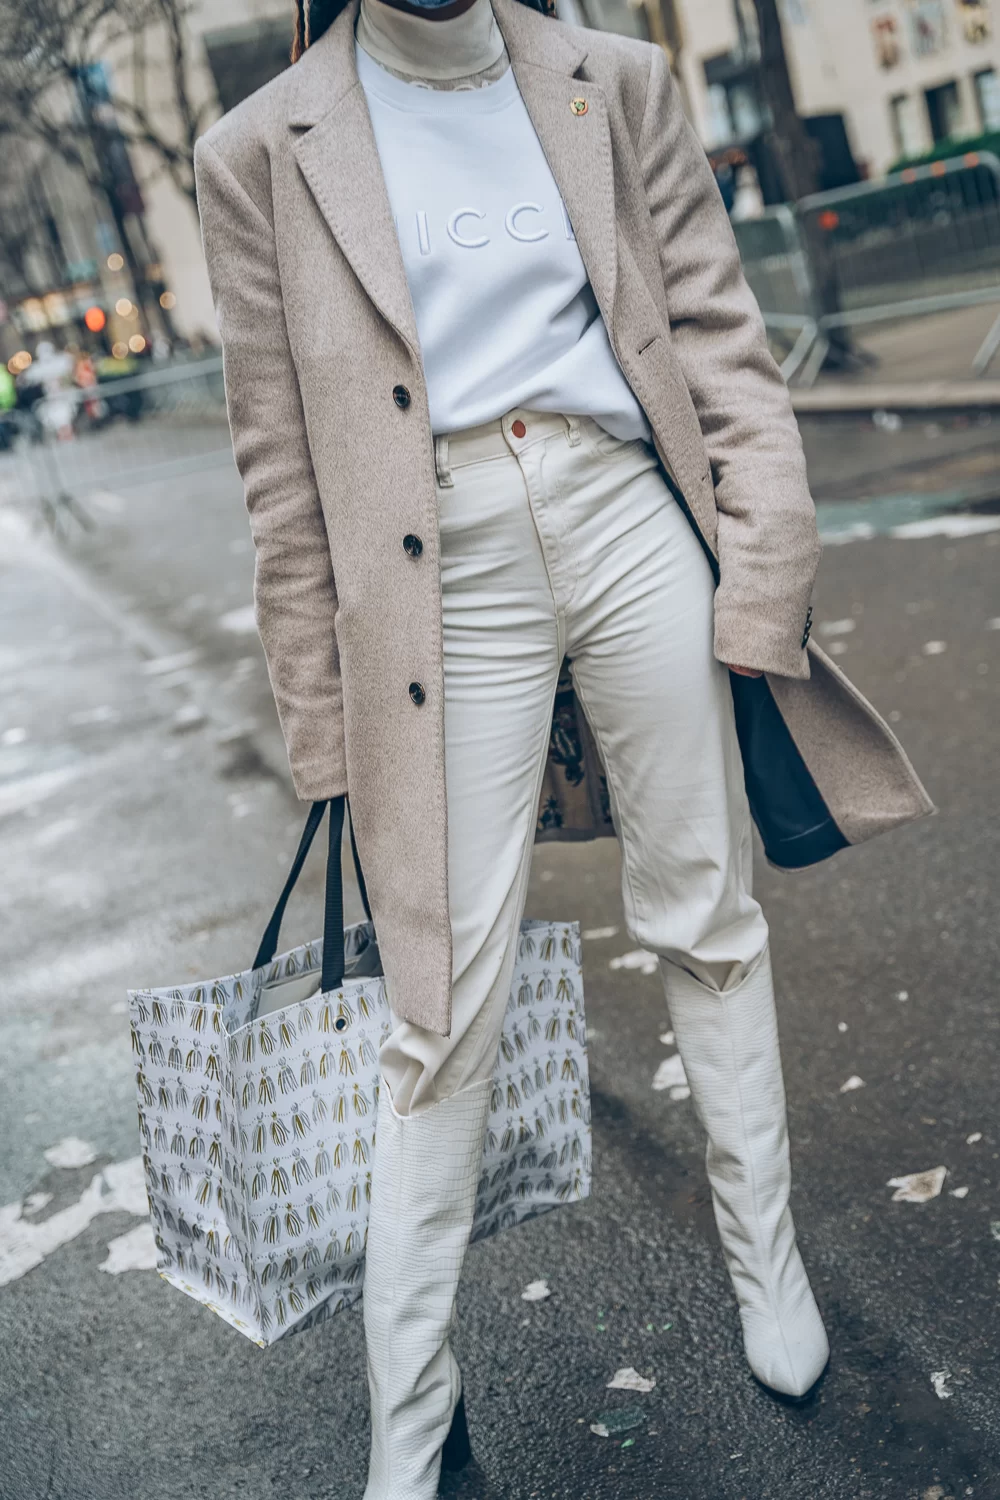
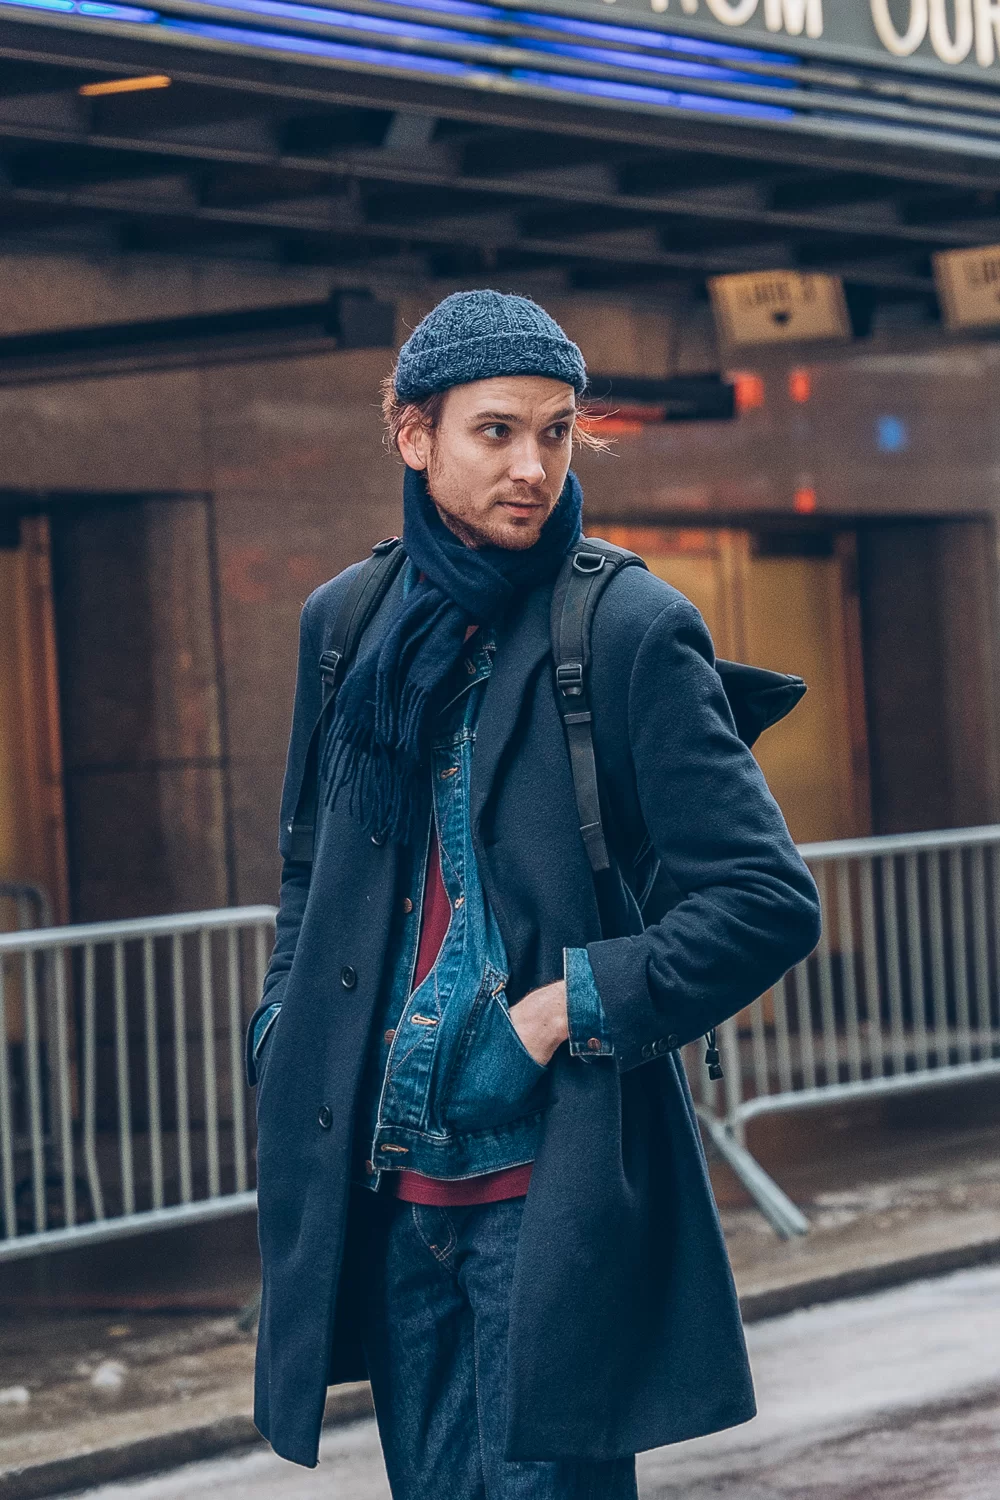
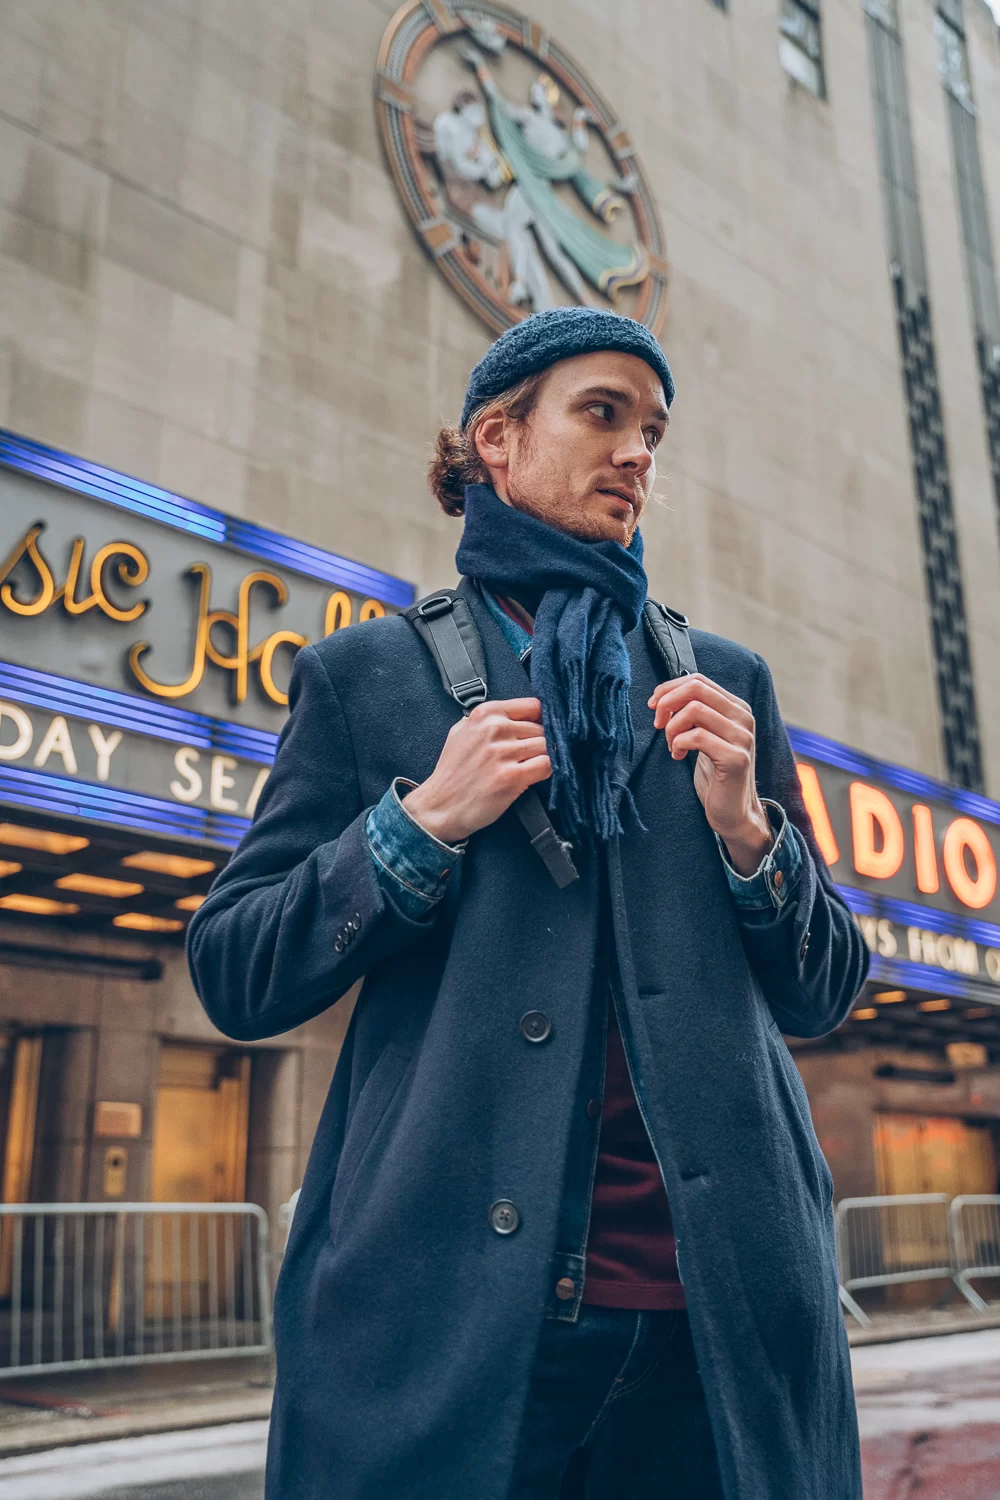
A wall (mural, pretty building, colorful storefront):

Pros:

– An instant backdrop that will look good on your Instagram feed

– Lowering the camera will capture both your outfit and the backdrop behind and above you

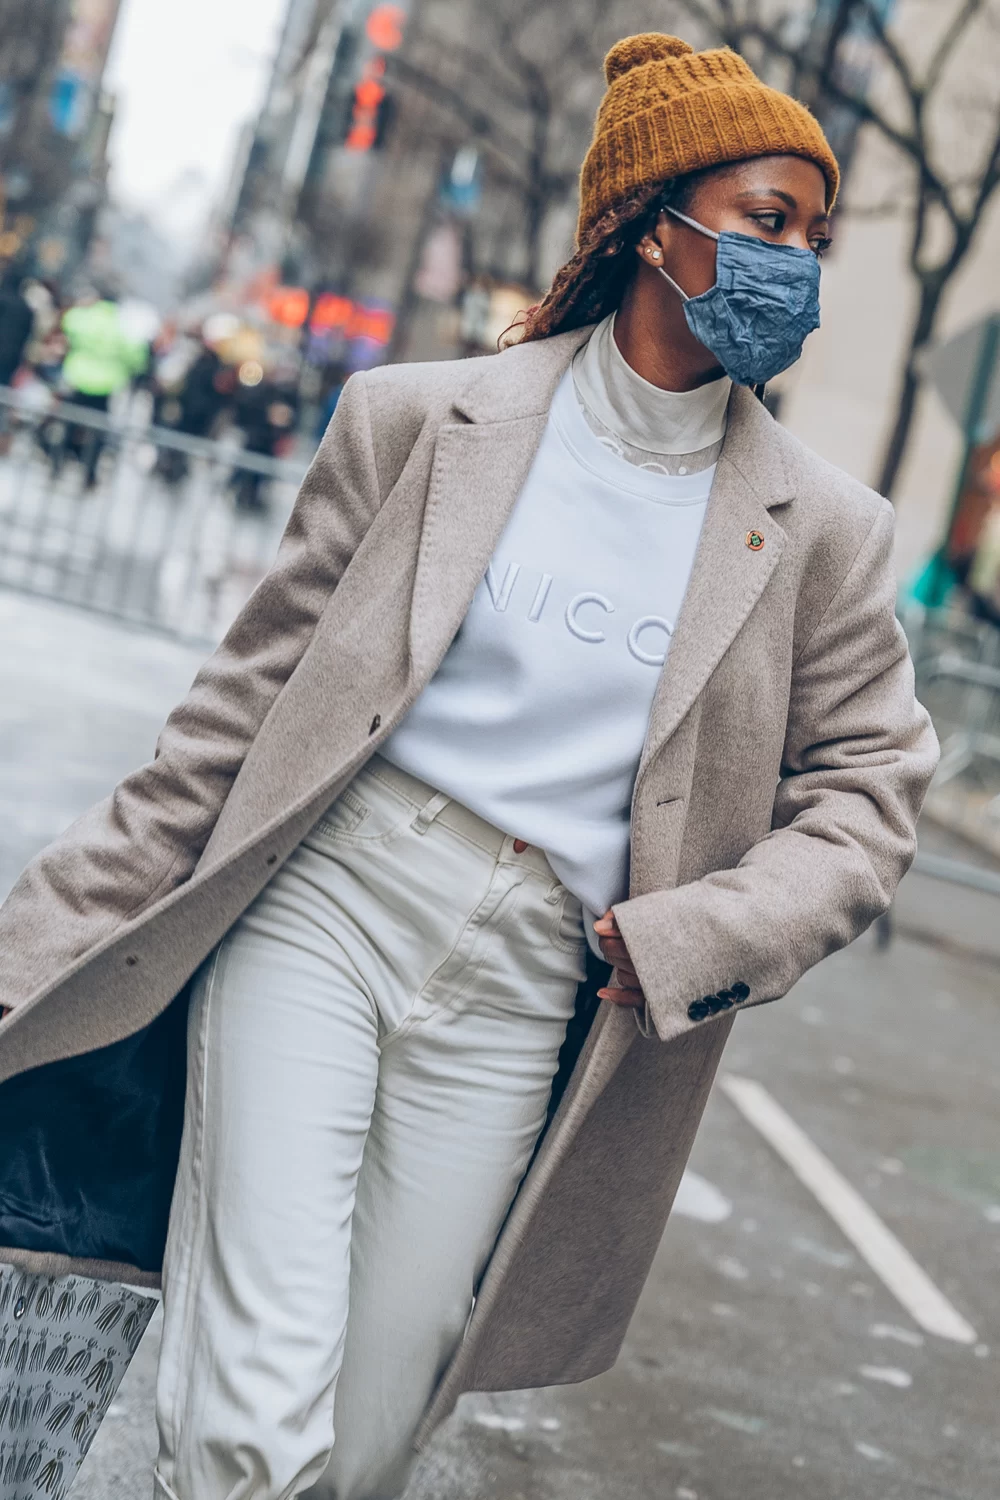
– Stepping away from the wall and shooting at a higher focal length (50-100mm) will stretch the background and defocus it, making this perfect for portraits and close-up shots. Shooting at a lower length (16-35mm) will show off more of the background in a shot.

– No need to deal with overblown skies!

Cons:

– Background can get repetitive after a few shots.


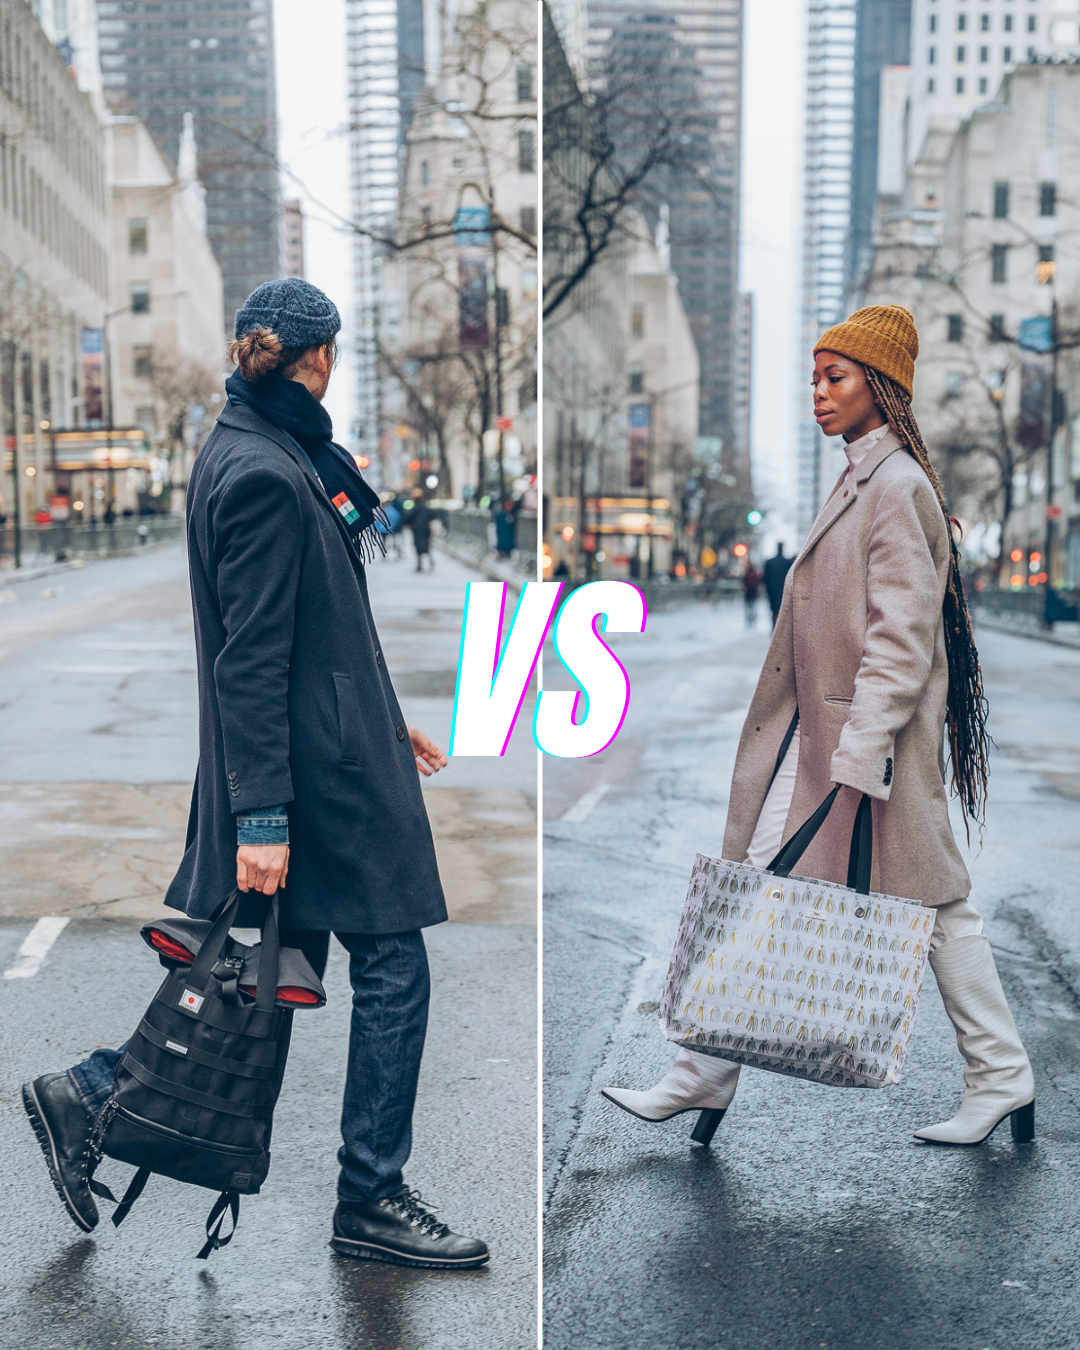
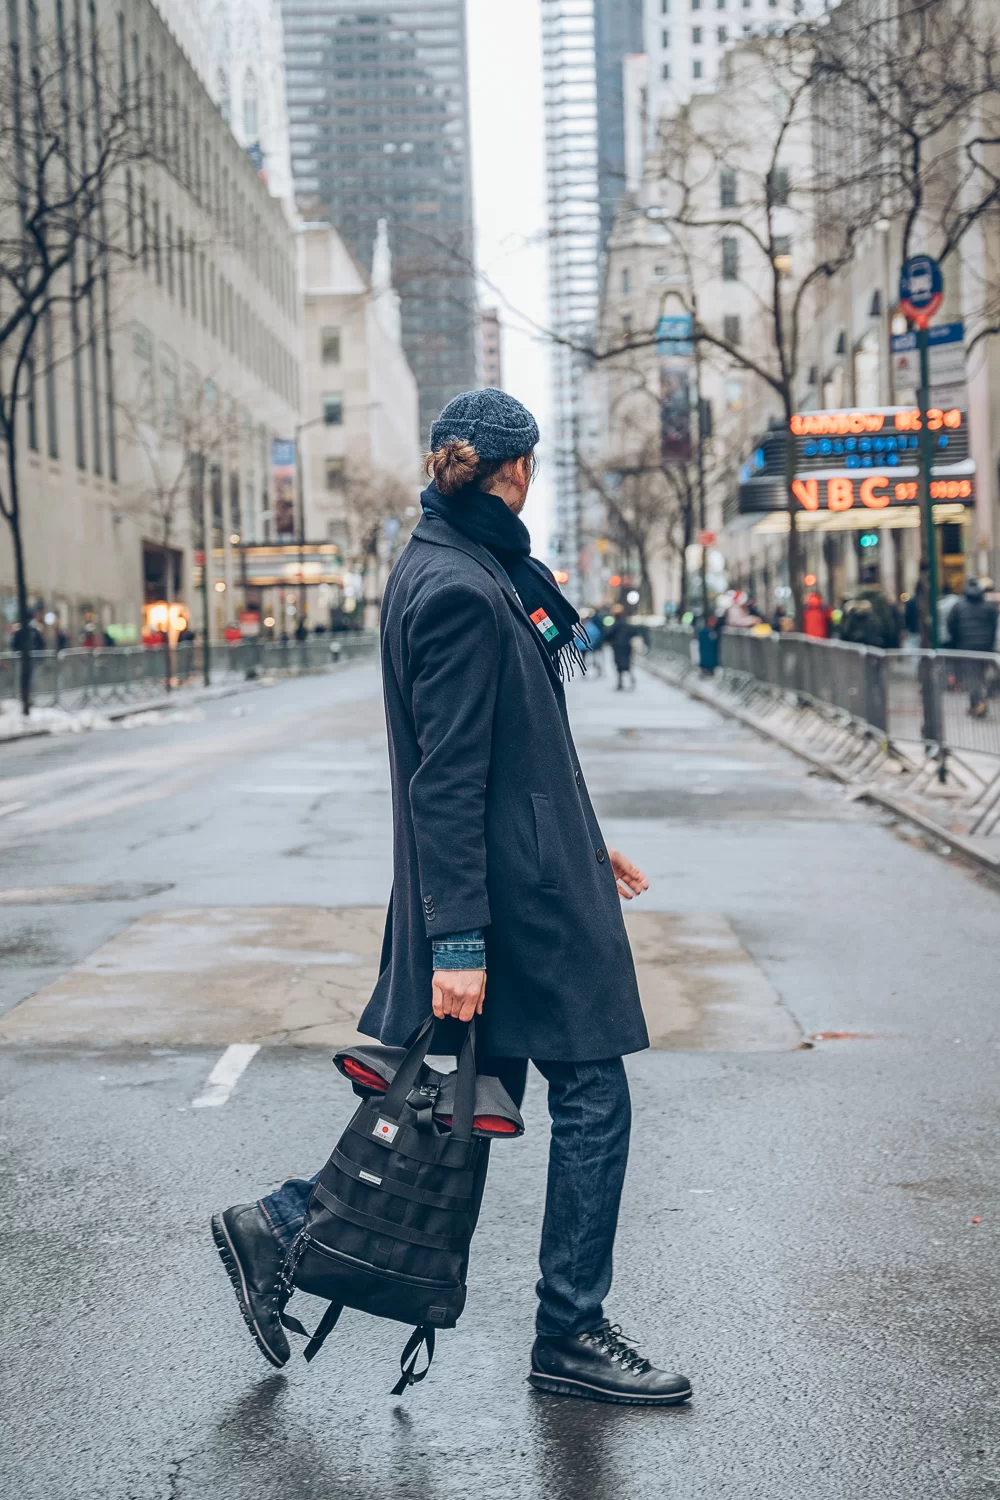
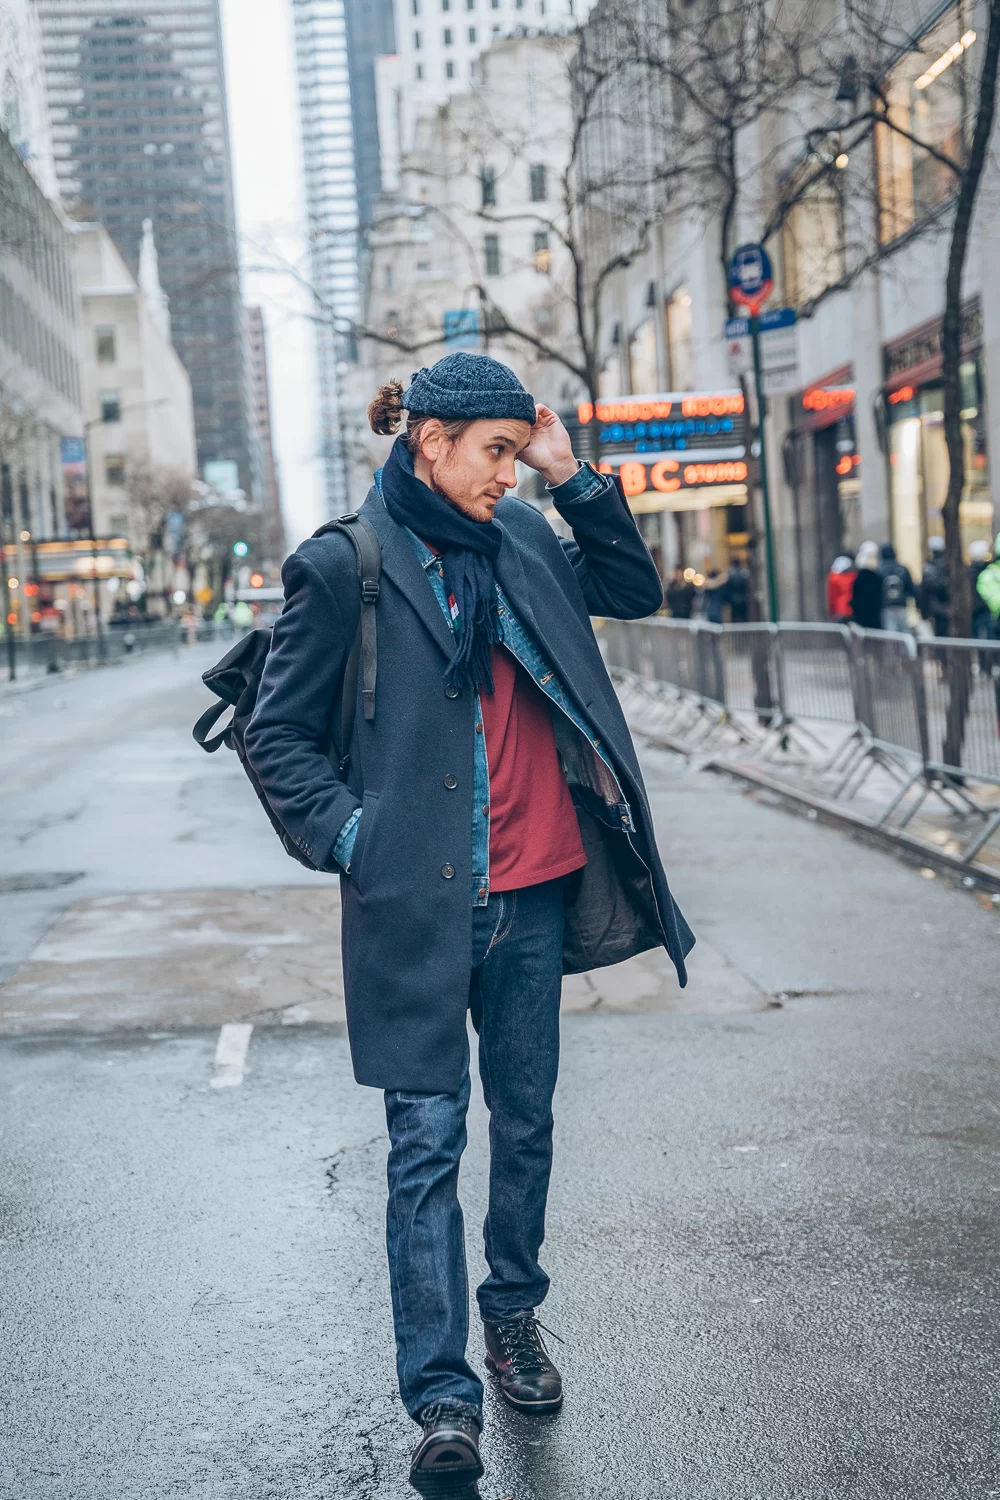
Open Space (crossing the street, large areas like parks and squares):

Pros:

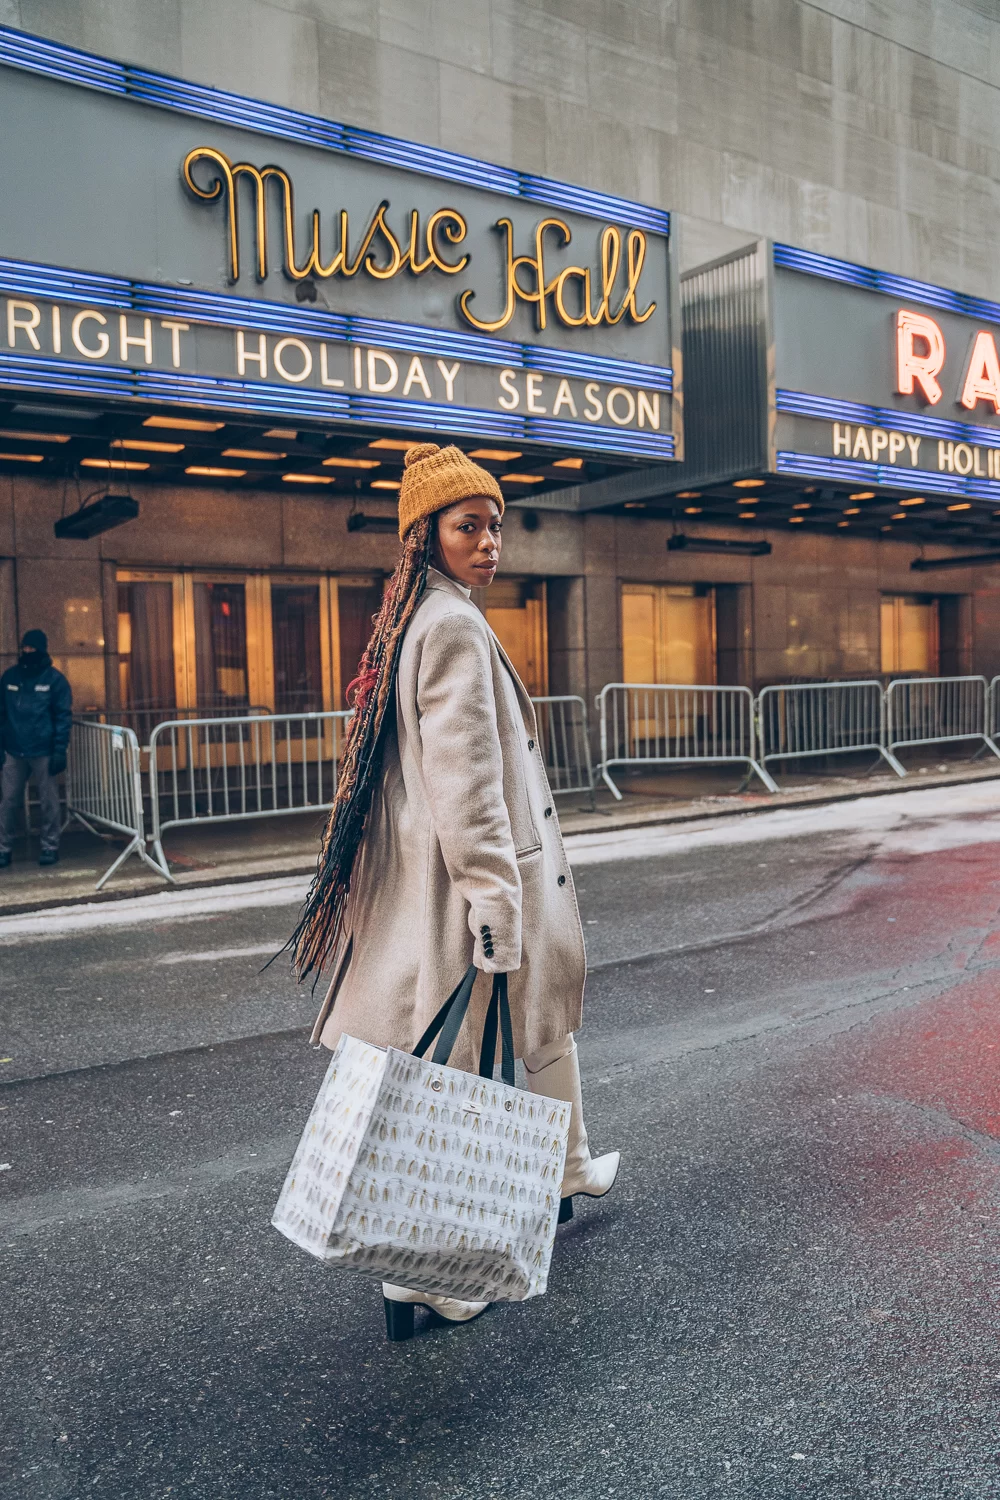
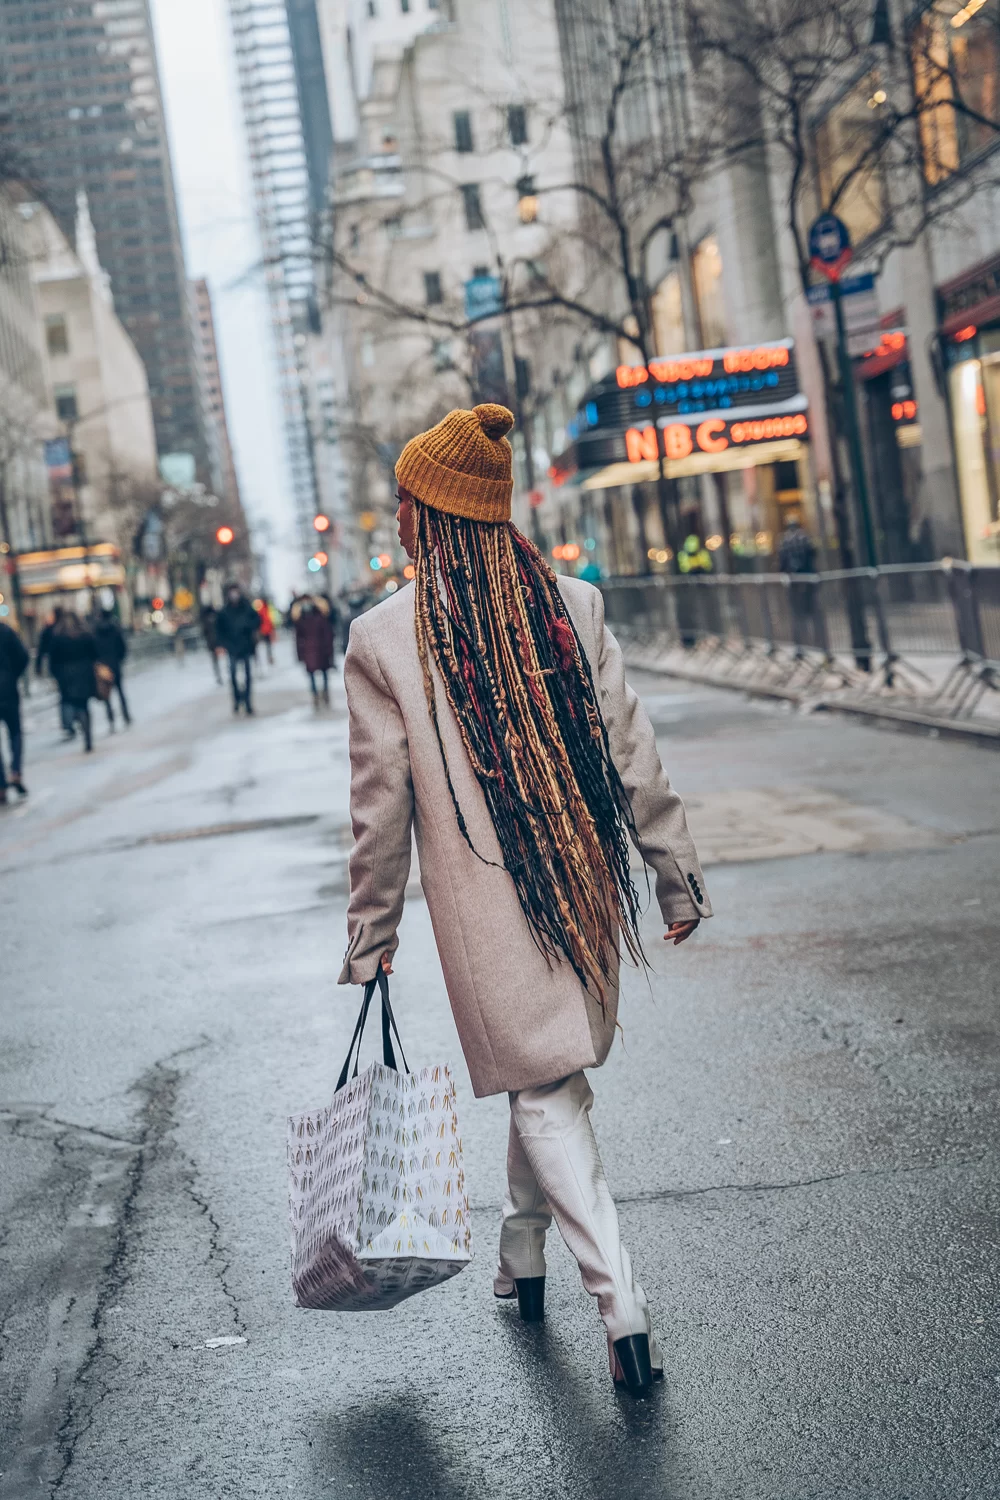
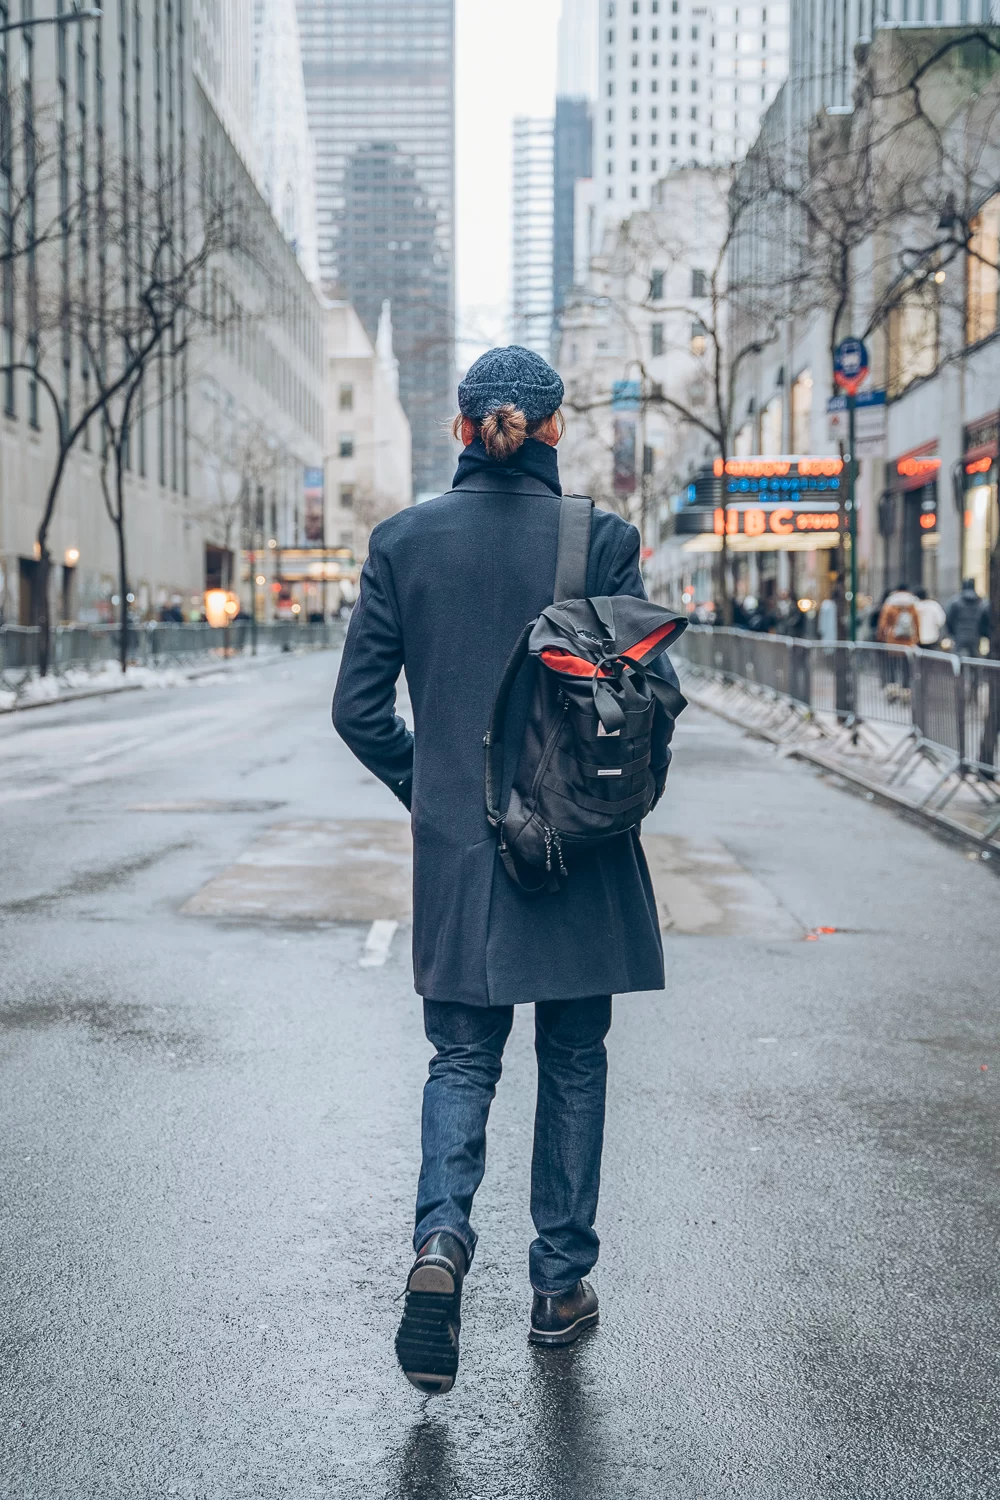
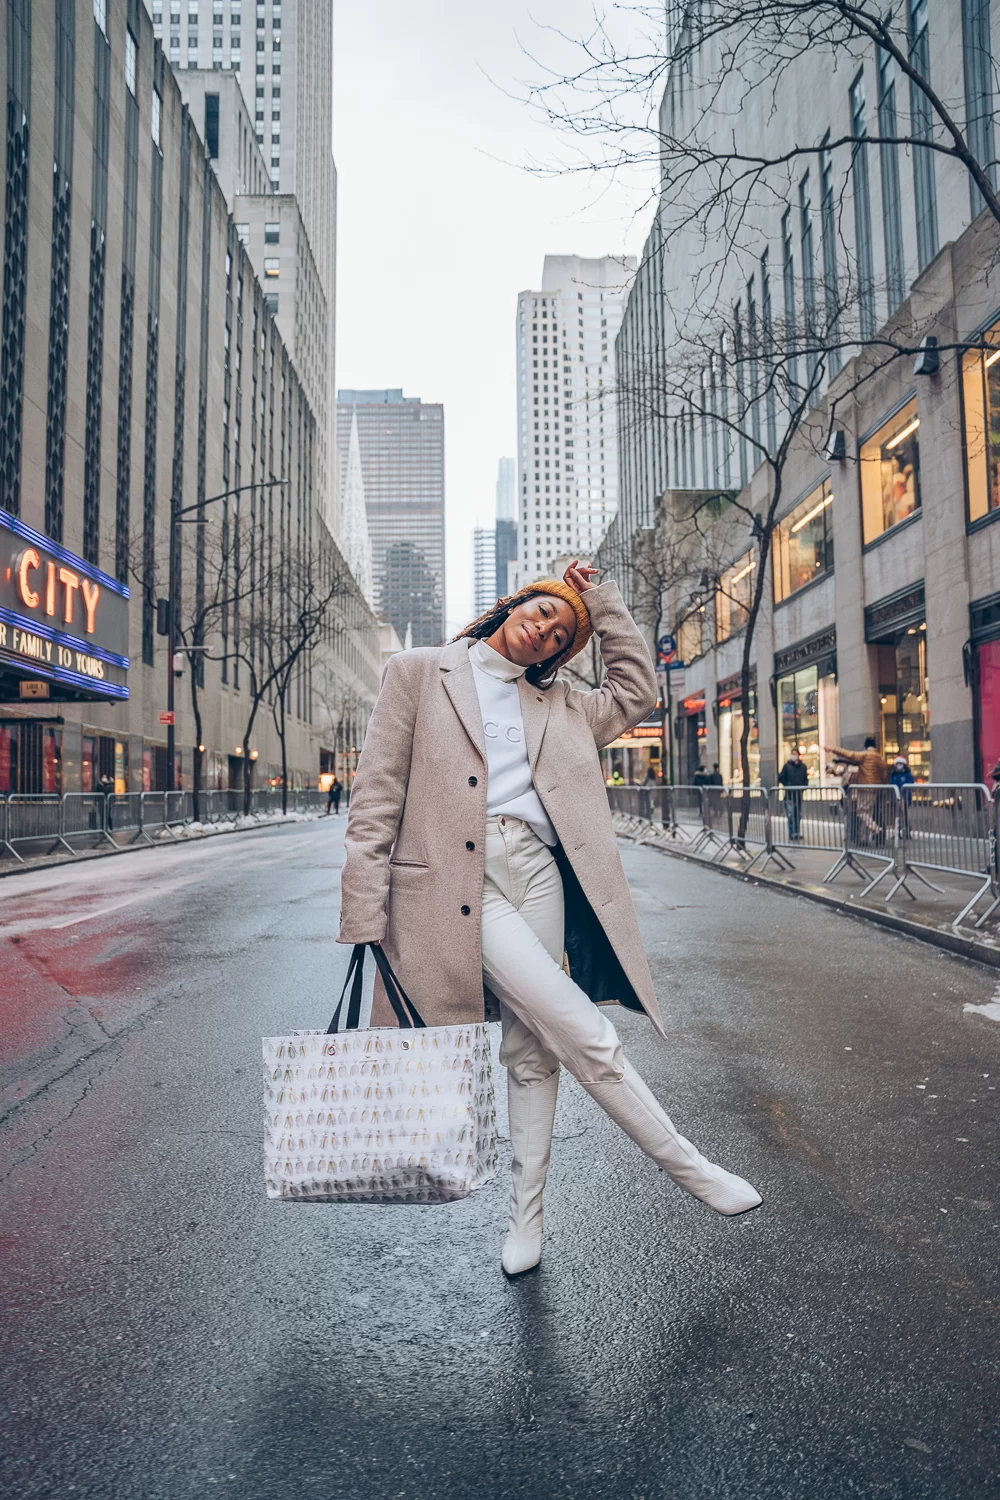
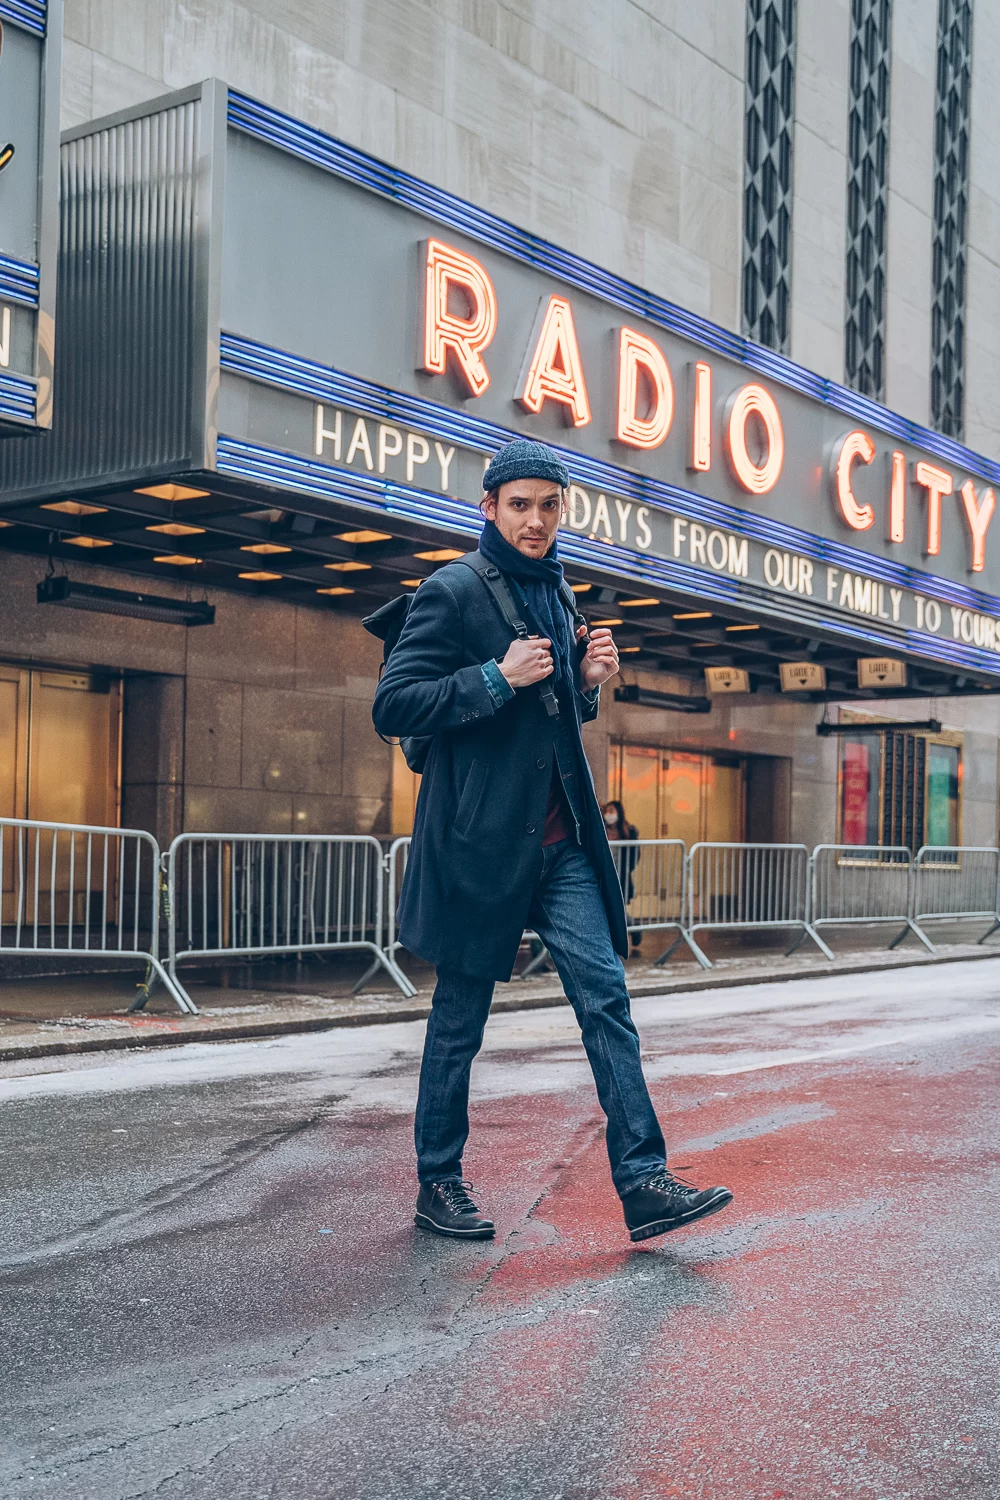
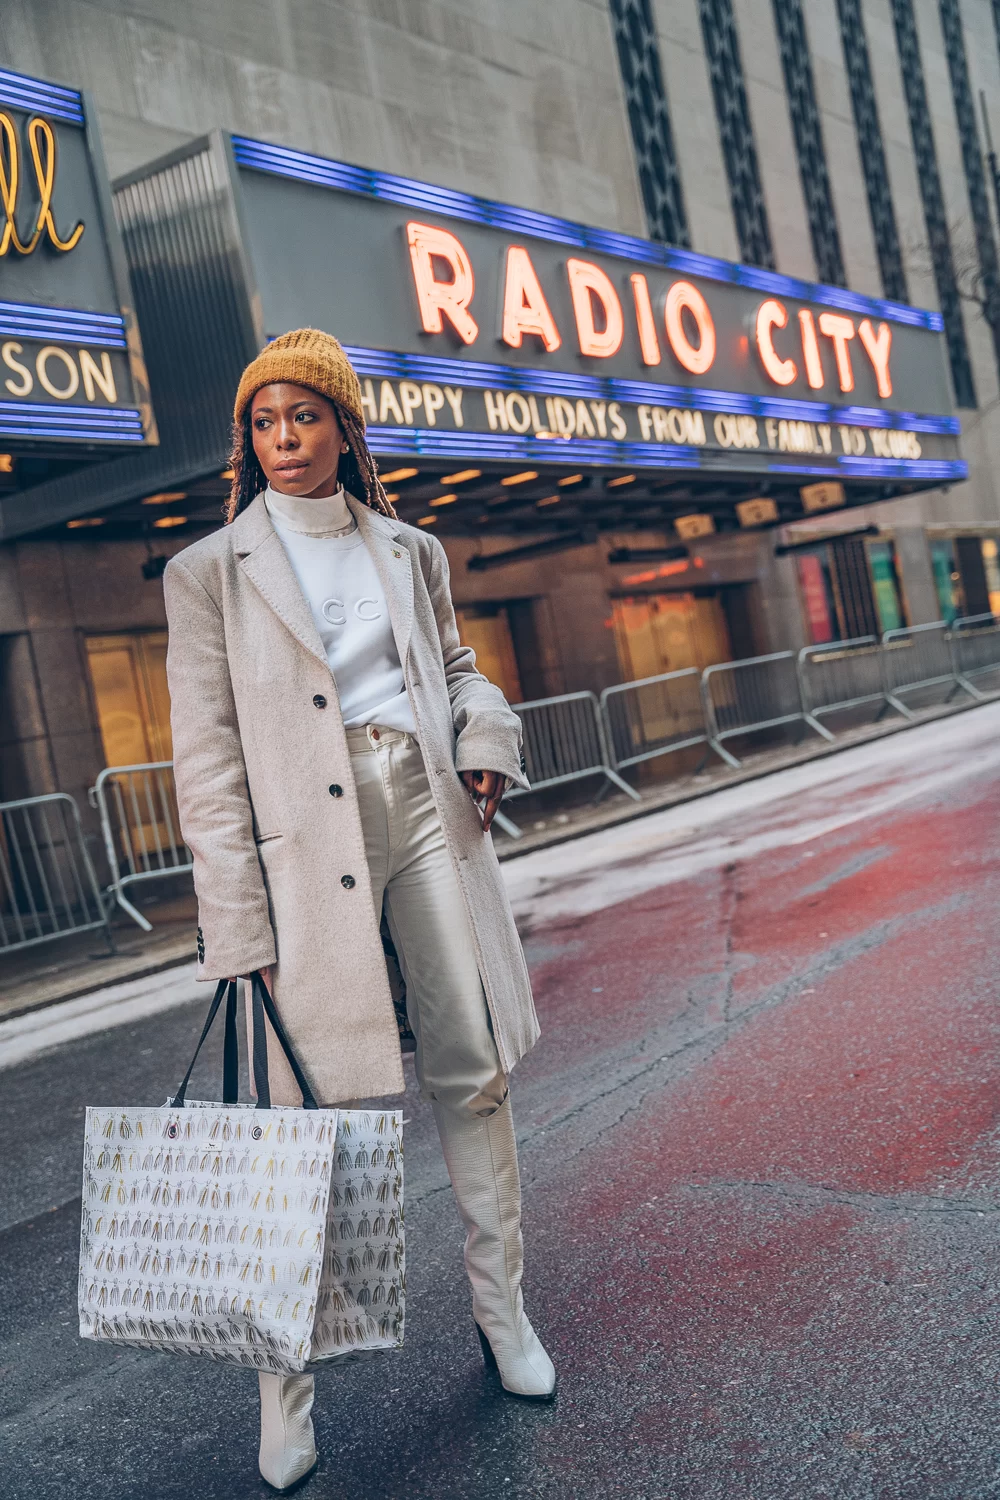
– Capture NYC landmarks in ALL of their majesty, not just their ground floors.

– Leading lines can be a powerful tool when shooting in the middle of the street, especially if you place your subject square in the middle of the photo.

– More space to maneuver and capture action shots like walking and dancing.

– Tilting the camera slightly in combination with walking, can give you a dynamic and fast-paced shot as opposed to a more “static” wall shot.

Cons:

– Could be harder to find in NYC

– Pay attention to the traffic when crossing the street and trying to get a shot!

Don’t forget to vote for your favorite photos and help up pick a winner in my Instagram Stories. Tag @opalbyopal and @maximsaidso and use hashtag #MaximalPhotoChallenge next time you shoot using these tips. I would love to see what you Gems come up with!

– Best of the Rest –

Leave a Reply